


High Quality Audio is ESSENTIAL in Modern eLearning
It’s no longer enough to simply rely on well-written content to drive results. Today’s eLearning needs to be interactive, visually appealing and (most importantly in our minds) sound amazing in order to keep learners engaged. Employees are used to listening to high quality sound in streaming services like Netflix and Hulu, so opening a course where the voice over and sound has been phoned in (figuratively or literally in some cases) can be distracting and counterproductive.
High-quality audio is a crucial aspect of eLearning applications for several reasons:
1. Clarity: The audio quality plays a critical role in ensuring that learners can understand and follow the course material. Poor audio quality can cause learners to miss out on important information, which can hinder their learning experience and reduce the effectiveness of the eLearning program.
2. Engagement: High-quality audio can enhance the engagement level of learners, making the course more interesting and interactive. Good audio can make the learning experience more enjoyable and help learners retain the information better.
3. Accessibility: Good audio quality is essential for learners who may have hearing impairments or language barriers. Clear audio makes it easier for learners to follow the course material, regardless of their language or hearing abilities.
4. Professionalism: High-quality audio can also enhance the overall professionalism of the eLearning program. It demonstrates to learners that the developers have put in the effort to ensure that the content is of high quality, which can help build trust and credibility with learners.
5. Retention: Studies have shown that learners are more likely to retain information that they have heard rather than read. High-quality audio can, therefore, help learners retain the course material better and improve the effectiveness of the eLearning program.
How to Create High Quality VO for eLearning
Creating high-quality voiceovers requires attention to detail and the right equipment. Here are the steps for creating a high-quality voiceover:

1. Scriptwriting: Write a clear, concise script that is easy to read and understand. Use simple language, avoid jargon, and break up long sentences into smaller, more manageable chunks. (Pro tip: record yourself reading your aloud….it will help you pinpoint awkward transitions and verbiage.)
2. Recording Environment: Choose a quiet location with minimal background noise to record your voiceover. Consider using acoustic treatment in your recording space to reduce echoes and improve the sound quality. We’ll be putting together another blog about treating a room for recording, but in the meantime, use a closet or small room with lots of absorbent fabric. It will help reduce the reflection of sound from the walls and reduce the cavernous reverb sound we hear on so many poorly recorded courses.
3. Microphone Selection: Choose a high-quality microphone that is suited to your voice and recording environment. A condenser microphone is usually the best option for voiceovers as it is sensitive and provides a clear, natural sound. Please…please…please…DON”T USE YOUR CELL PHONE TO RECORD!

4. Microphone Placement: Position the microphone close to your mouth, around 6-8 inches away. This helps to capture the full range of your voice and minimize background noise. Also, make sure the microphone’s polar pattern is set to record you and you alone (cardioid pattern). Many microphones can record bi-directional or omni-directional (everything around it) patterns. These settings will record the surrounding room sounds in addition to your voice. There’s usually a small notch on the back of the mic that allows you to switch patters.
5. Recording Software: Use a digital audio workstation (DAW) to record and edit your voiceover. At Allegro Media Design, we use Avid Pro Tools for recording and Sound Forge for editing long-form voice over. There are many free and paid options available, such as Audacity or Adobe Audition, but beware that the processing and plug-ins isn’t the greatest. Paying for a good noise reducer is key to getting great voice over.
6. Record Multiple Takes: Record multiple takes of each section of your script to ensure you have enough material to work with in the editing process. This also helps to avoid mistakes and inconsistencies, and the confidence of familiarity will come through in your recording.
7. Editing: Use your DAW to edit your voiceover, removing any mistakes, background noise, or unwanted sounds. Be sure to adjust the volume, EQ, and compression to improve the sound quality and balance. Most plugins have presets such as “Male VO” or “Female VO” to help you get started.
8. Post-Production: Add music or sound effects to your voiceover if needed to enhance the overall listening experience. Ensure that the music and sound effects complement the tone and message of your voiceover instead of overpowering it.
9. Proofreading: Review your voiceover to ensure that there are no mistakes or inconsistencies in the script or audio. This step helps to ensure that your voiceover is of high quality and meets the expectations of your audience.
Ok, we get it…audio can overwhelming. If you’re looking for someone to take the reigns on your audio production, we’ve got you covered! Our original music, sound design, and voice over has been featured on thousands of eLearning courses and tv shows from Showtime, NBC, MTV, Comedy Central, Bravo, Starbucks, WWE, UFC and so much more. Reach out today to see how we can bring your project to life!


More Articles


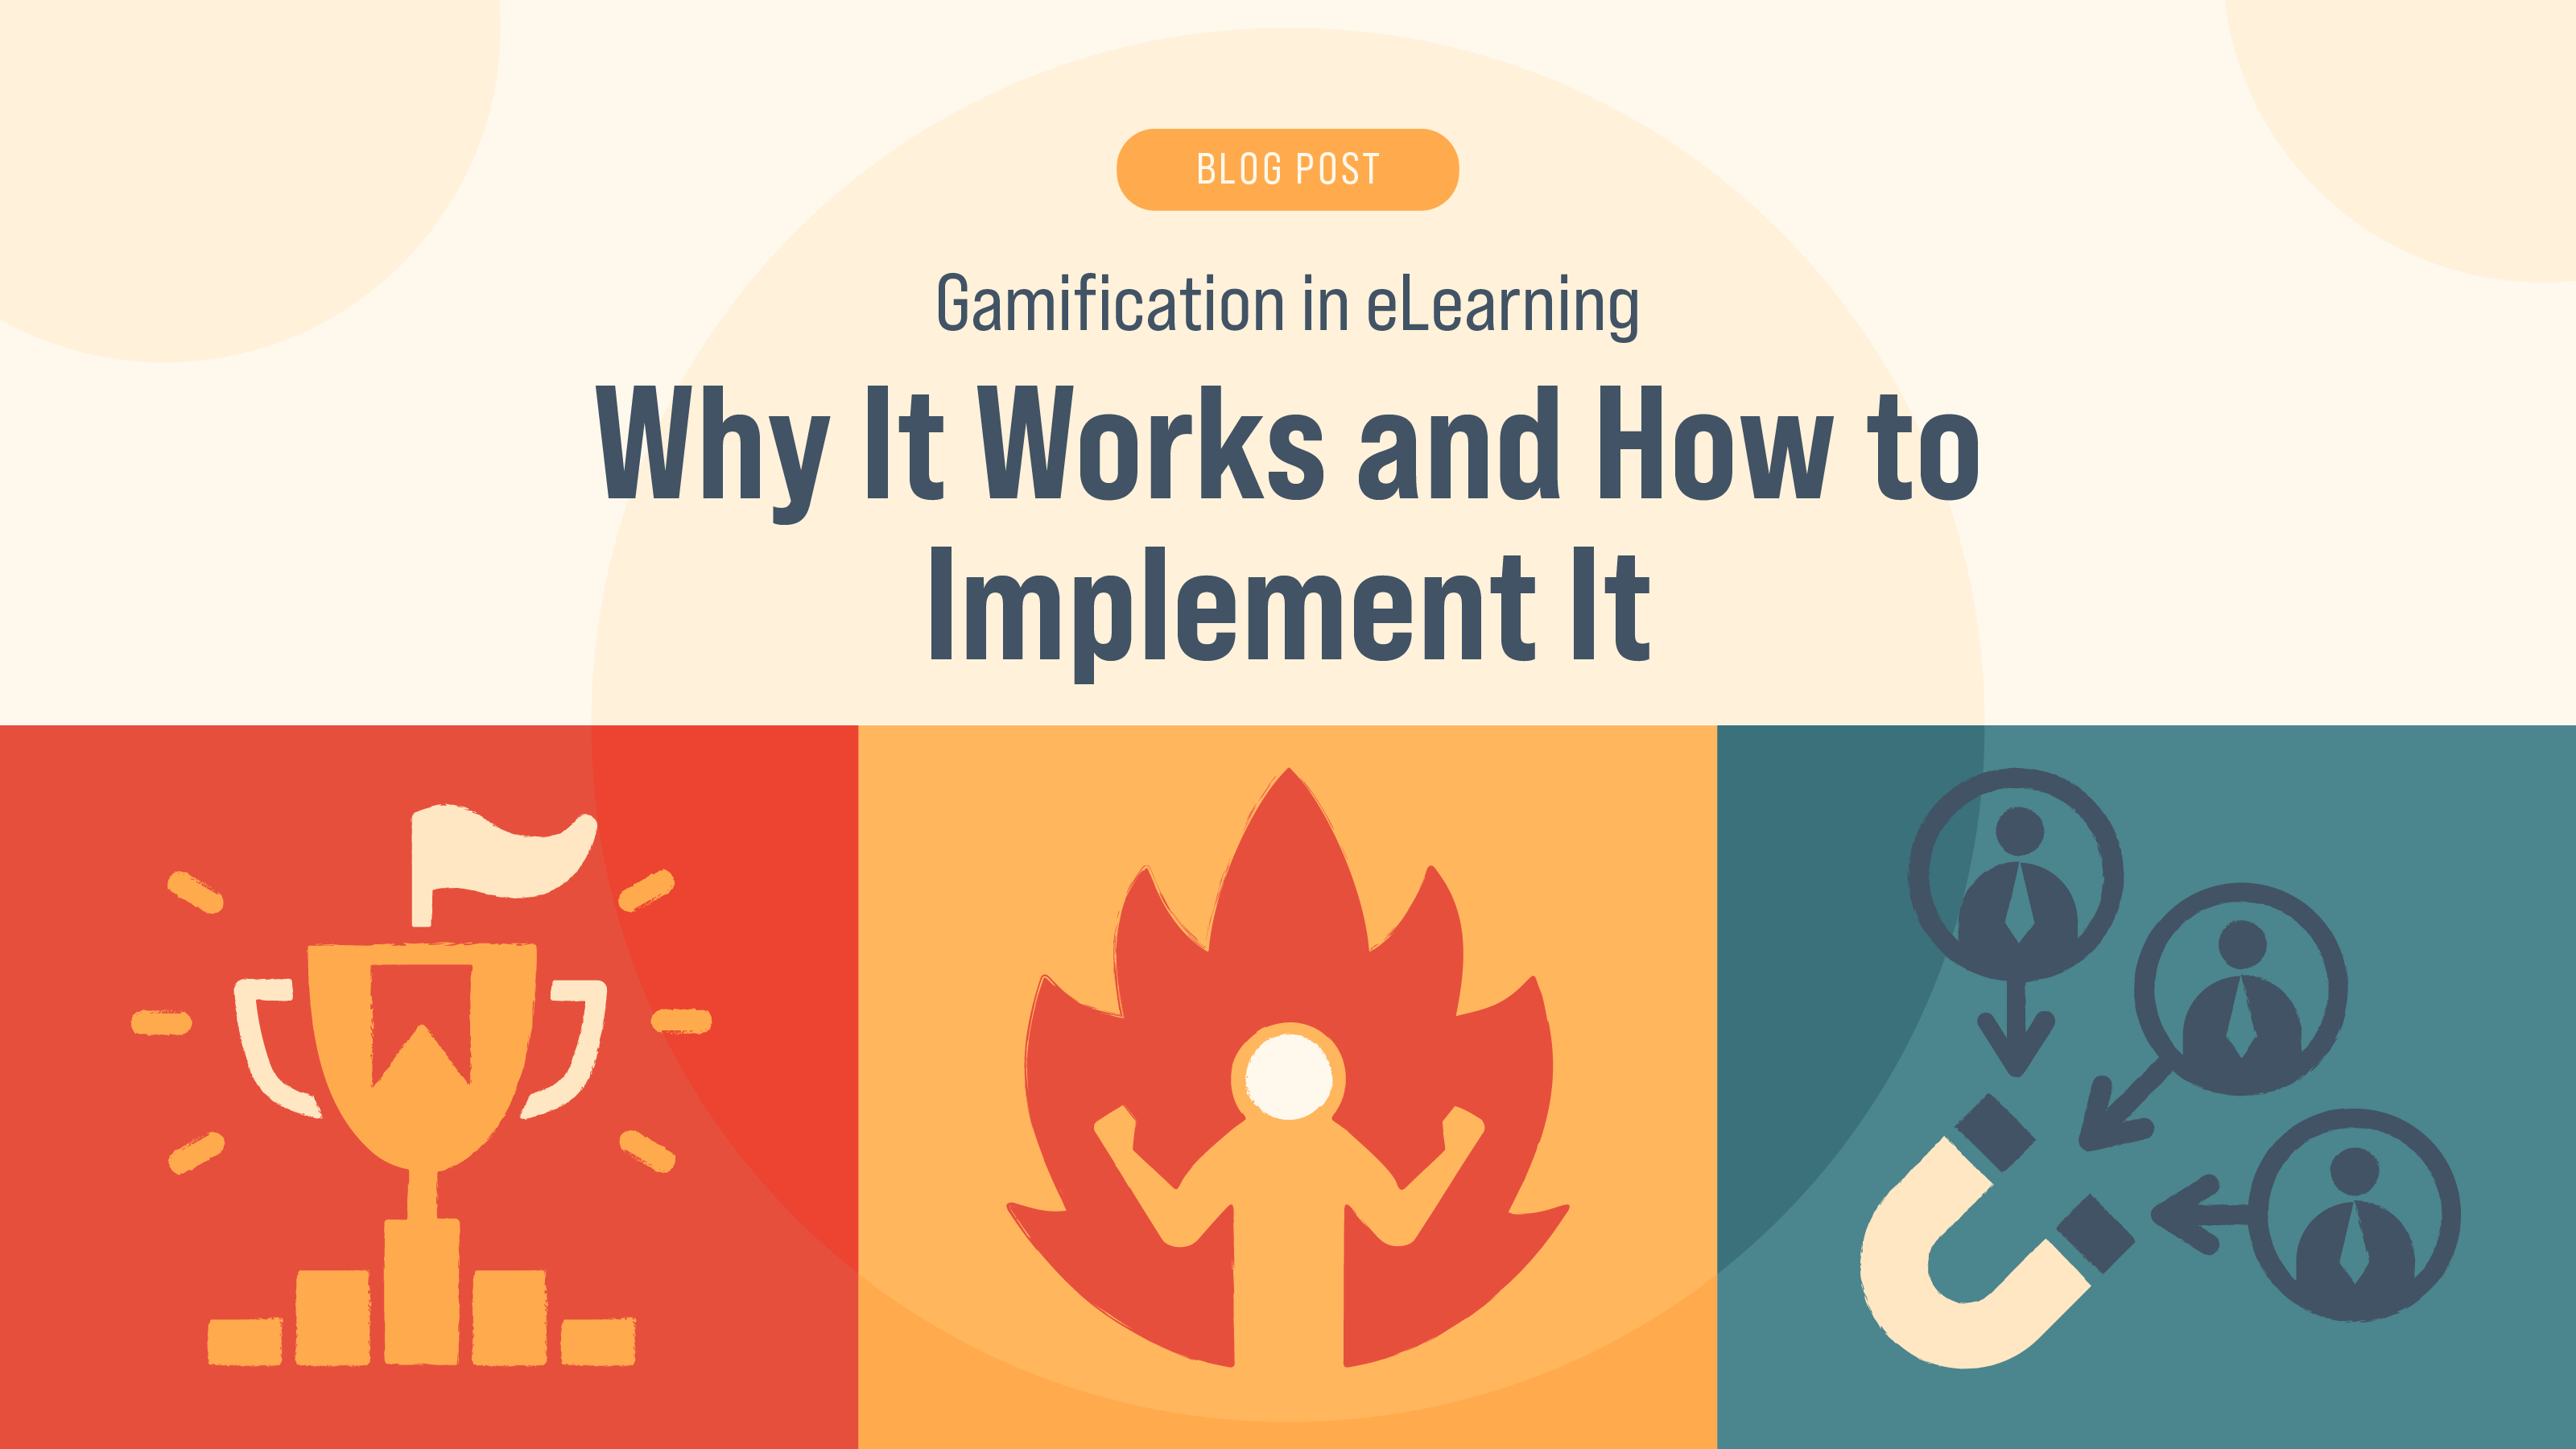
Gamification in eLearning: Why It Works and How to Implement It


The Future of Employee Onboarding: eLearning Solutions That Work
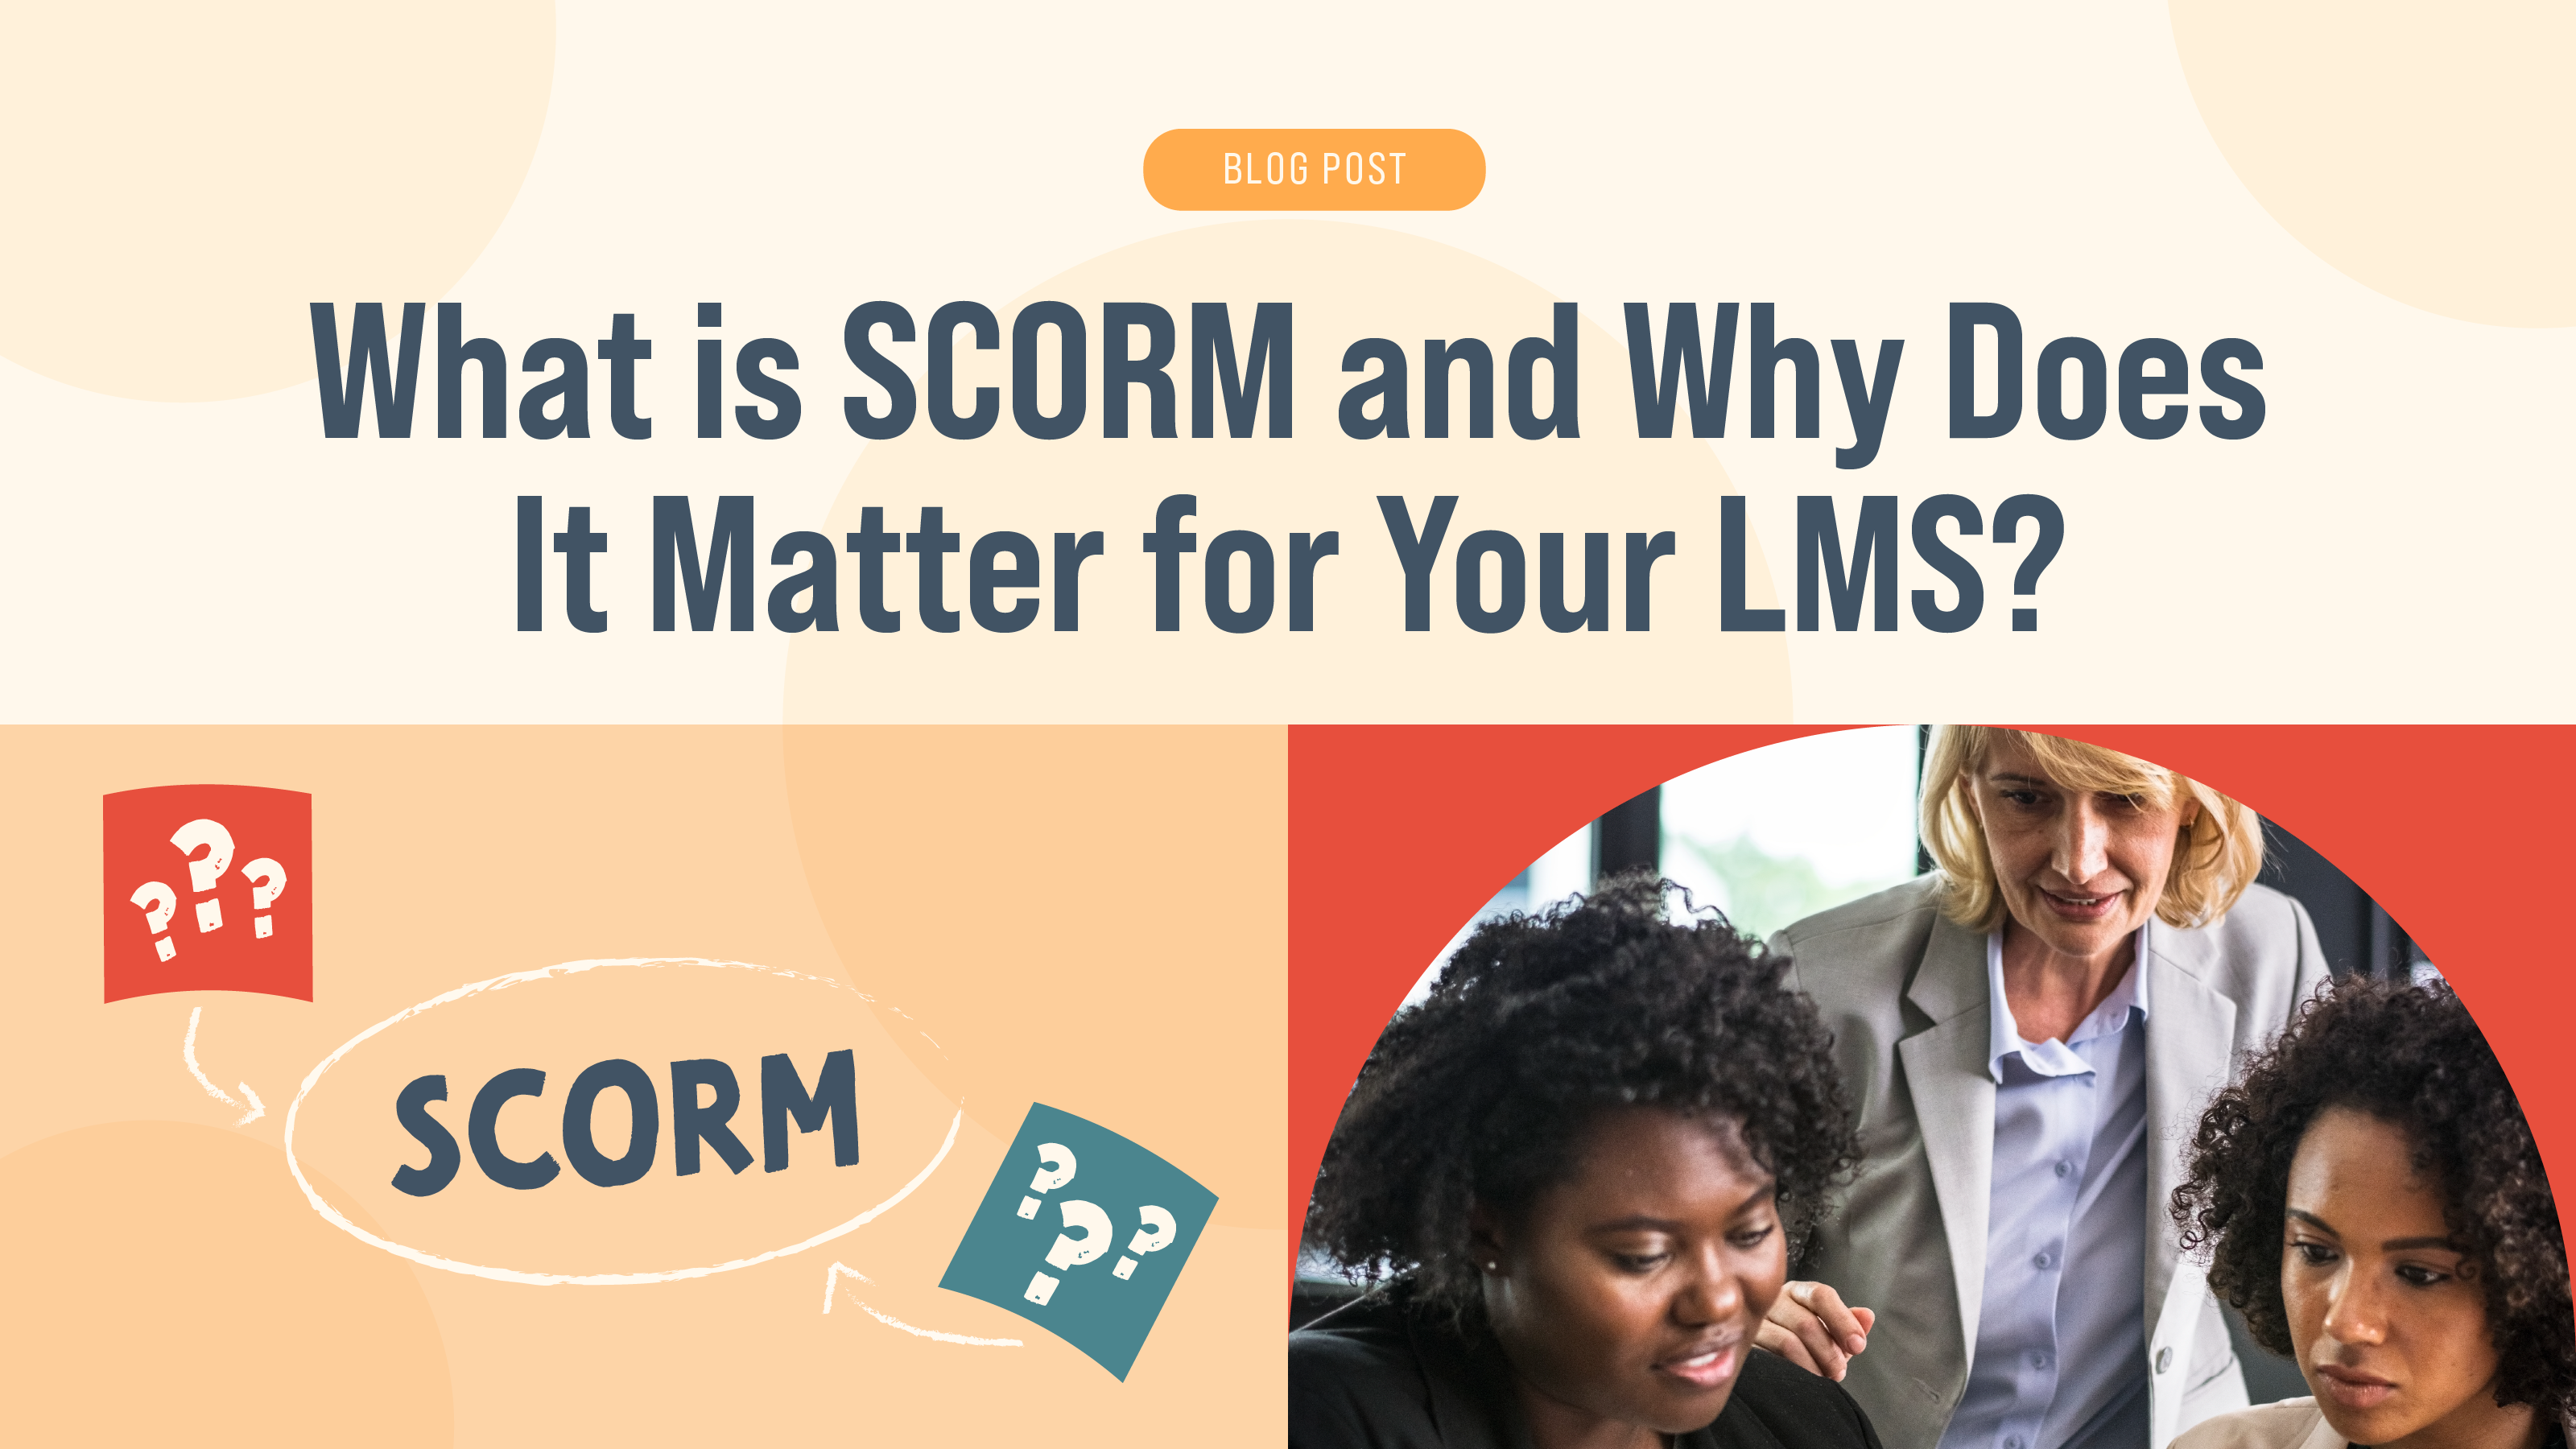
What is SCORM and What Does it Matter

Accessibility in eLearning: Why It’s Essential and How to Achieve It

Microlearning: Bite-Sized Training for Big Results

Soft Skills Training Through eLearning: Building Better Leaders

How to Write Learning Objectives for eLearning Courses

When to Outsource Your eLearning Development (and How to Choose the Right Partner)

Employee Engagement in 2025: How eLearning Can Help

Training for a Multigenerational Workforce: Meeting Everyone’s Needs

The Future of eLearning: 4 Trends Shaping the Industry

How To Find the Right eLearning Developer

What Makes eLearning Effective?

Transform Your eLearning with the Magic of Animation

How to Use Audio to Enhance eLearning

Boost Learning Efficiency with Microlearning

Give Your Dated eLearning a Fresh Facelift

The Process of eLearning Part 5: The Implementation Phase

The Process of eLearning Part 4: The Development Phase

The Process of eLearning Part 3: The Design Phase

The Process of eLearning Part 2: The Analysis Phase

The Process of eLearning Part 1

Empower Your Workforce with Self-Paced Training

Elevate Your Training with Exceptional Visual Design

Taking the Confusion Out of SCORM

Embrace Efficiency: The Power of Outsourcing Your eLearning Production

Mastering eLearning: Elevating Corporate Training Through Scenario-Based Learning

Converting ILT to vILT: Embrace the Virtual Shift

Spice Up Your Boring Corporate Training With Animated Videos Copy

From Concept to Clicks: The Crucial Role of eLearning Developers

Lost in Translation: Mastering Multilingual eLearning

Training Crossroads: ILT or eLearning – What's Your Strategy?

How to Transform Boring Compliance Training

Last-Minute Crunch? Allegro Media Delivers Rapid eLearning Solutions Just-In-Time!

The Art of Chunking (or How to Eat a Whale)

Zen & The Art of eLearning Maintenance: Finding Harmony with Allegro Media Design

13 Tips for Gamifying Employee Training

How to leverage ChatGPT for eLearning Applications

What Should I Look for When Hiring an eLearning Vendor?

Unveiling the Future of eLearning: Trends to Watch in 2024

Subject Matter Experts: Be Proud! Allegro loves you just how you are!

What in the World is an LMS?

Enhancing eLearning Engagement: The Power of Scenario-Based Interaction with Stylized 3D Motion Images

Enhancing eLearning with DALL-e: Adding Visual Reinforcement for Engaging Corporate Training

Choosing the Right Authoring Tool for Your eLearning Course

What in the World is SCORM?

A Complete Guide to Leadership Training and Development

Benefits of Customer Service eLearning Training

14 Tips To Effectively Use Audio for eLearning Courses

10 Instructional Design Tips for Effective eLearning

Why You Should Use eLearning For Product Training

Benefits of Voice Overs for Your Business

How to Create Great eLearning Content: 9 Tips

Video Marketing for Business: 10 Benefits of Promotional Videos

Gamification in the Workplace: Why and How to Use It

5 Best Practices for Training Remote Employees

How to Avoid eLearning Burnout and Fatigue

What Is Customer eLearning Training and Why Do You Need it?

8 eLearning Sales Training Best Practices: Tips & Use Cases

How to Effectively Use Videos in eLearning

Best Practices for Remote Employees Onboarding with eLearning

Why You Should Invest in Corporate eLearning?

How Can eLearning Reduce Employee Burnout?

How to Motivate Employees to Participate in eLearning Training: 9 Tips

eLearning Trends and Predictions: 2022 Forecast

7 Reasons to Outsource Your eLearning Course Development
%20to%20Virtual%20Instructor-Led%20Training%20(VILT).jpg)
How to Convert Instructor-Led Training (ILT) to Virtual Instructor-Led Training (VILT)

12 Best Tips on How to Improve Employee Training with Gamification in 2021-2022

What Is Compliance Training and Why Is It Important for Your Business?
%20vs.%20eLearning.jpg)
Instructor-Led Training (ILT) vs. eLearning: Which Should I Choose?

The Difference Between An Instructional Designer And An eLearning Developer

What Is Personal Development and Why Is It Important?